
Step 01
Idea / Concept
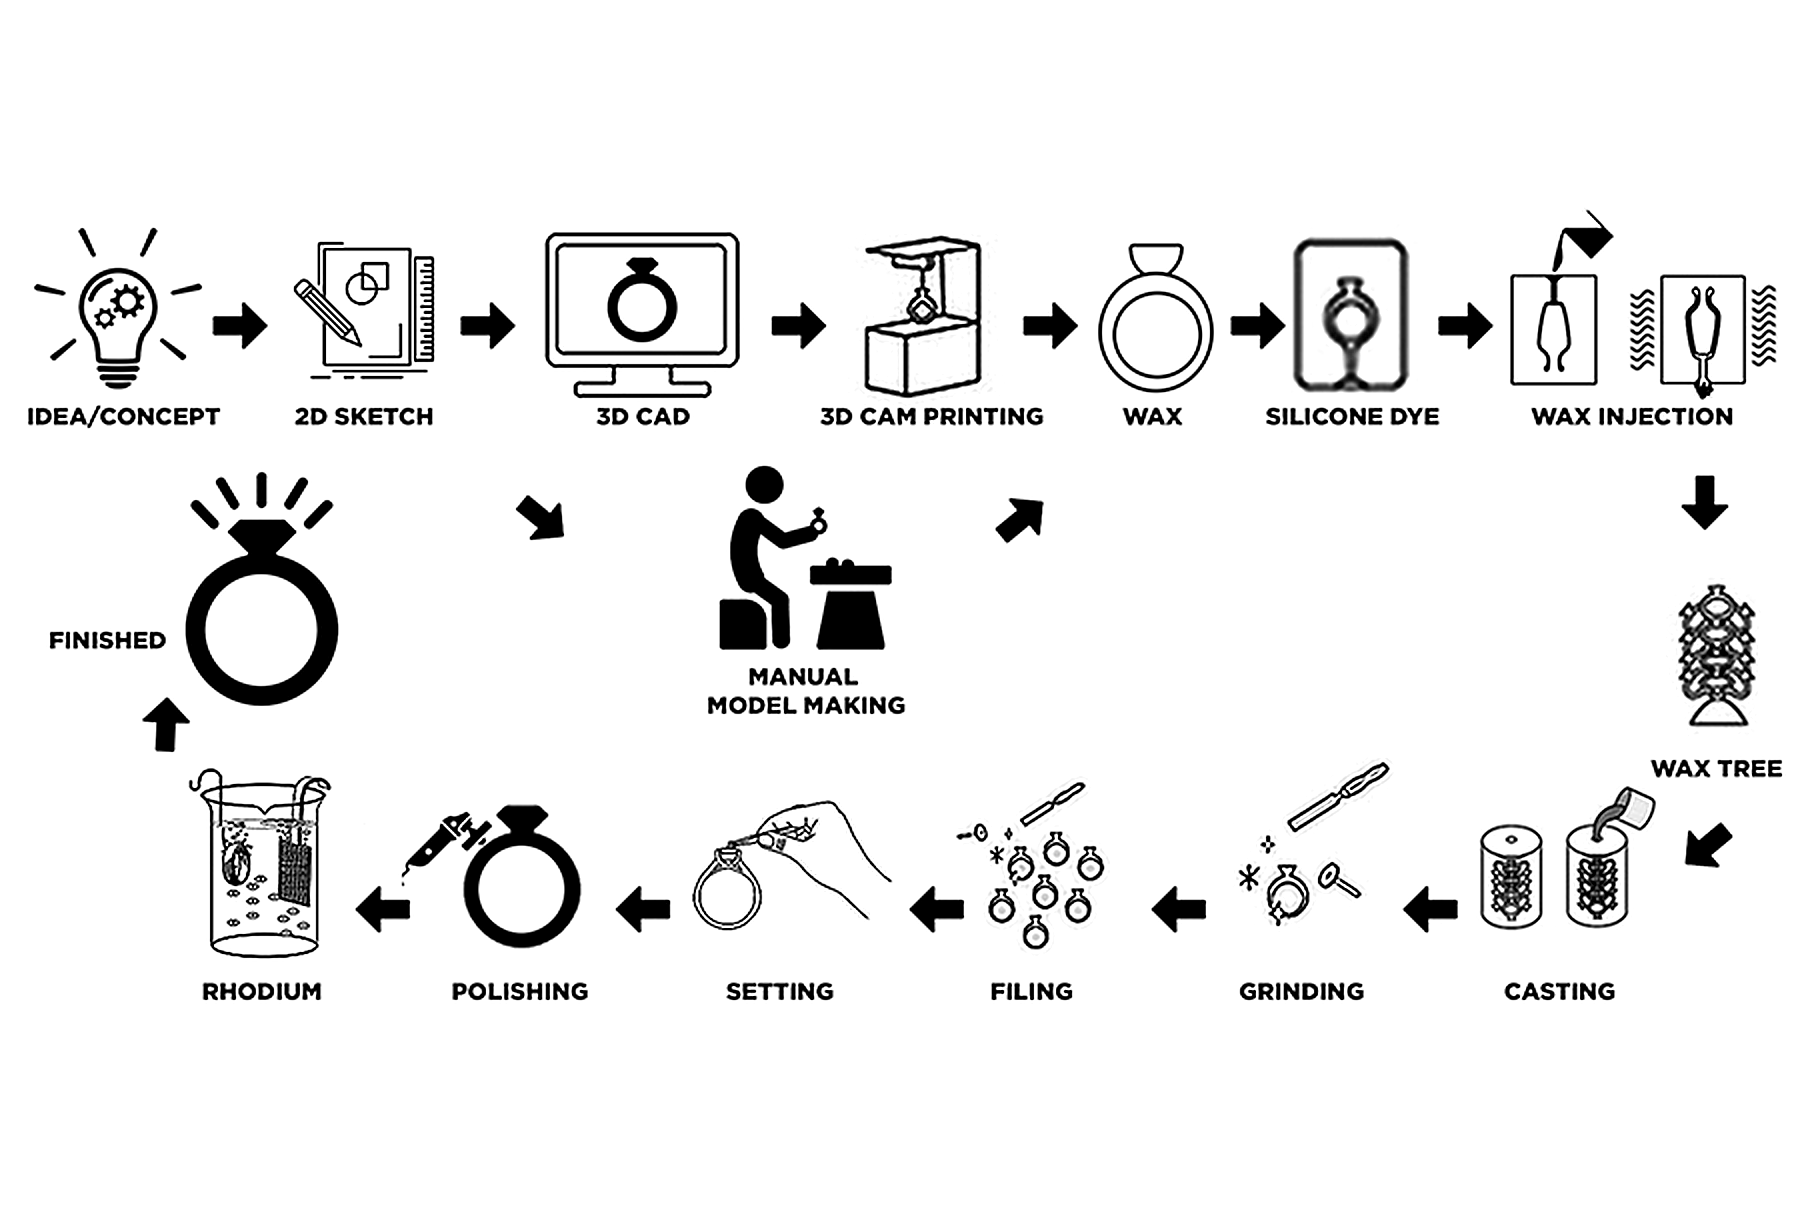
Every piece begins with an idea. Inspiration may come from an occasion, a story, a gemstone or the personality of the wearer, and the brief is shaped around the look, feel and purpose of the jewel.
Discover the journey of jewelry from concept to creation: where inspiration meets craftsmanship, transforming raw materials into exquisite, wearable masterpiece.
Step 01
Every piece begins with an idea. Inspiration may come from an occasion, a story, a gemstone or the personality of the wearer, and the brief is shaped around the look, feel and purpose of the jewel.

Step 02
The concept is drawn out by hand or digitally, defining the silhouette, proportions, stone placement and finer details. Sketches are refined and shared for approval before the design moves forward.

Step 03
The approved sketch is translated into a precise three-dimensional model. Dimensions, stone seats, prongs and metal thickness are worked out digitally, and renders let you see the piece before it is made.
Step 04
The digital model is sent to a high-resolution 3D printer, which builds the design layer by layer into an exact physical master with fine detail.

Step 05
The printed model, or one carved by hand, takes the form of a wax master. It is checked for fit, symmetry and detail, because every cast copy will carry its exact shape.

Step 06
The master is pressed into silicone rubber and cured, then carefully cut open. The hollow left behind is a perfect negative of the design, ready to be filled again and again.
Step 07
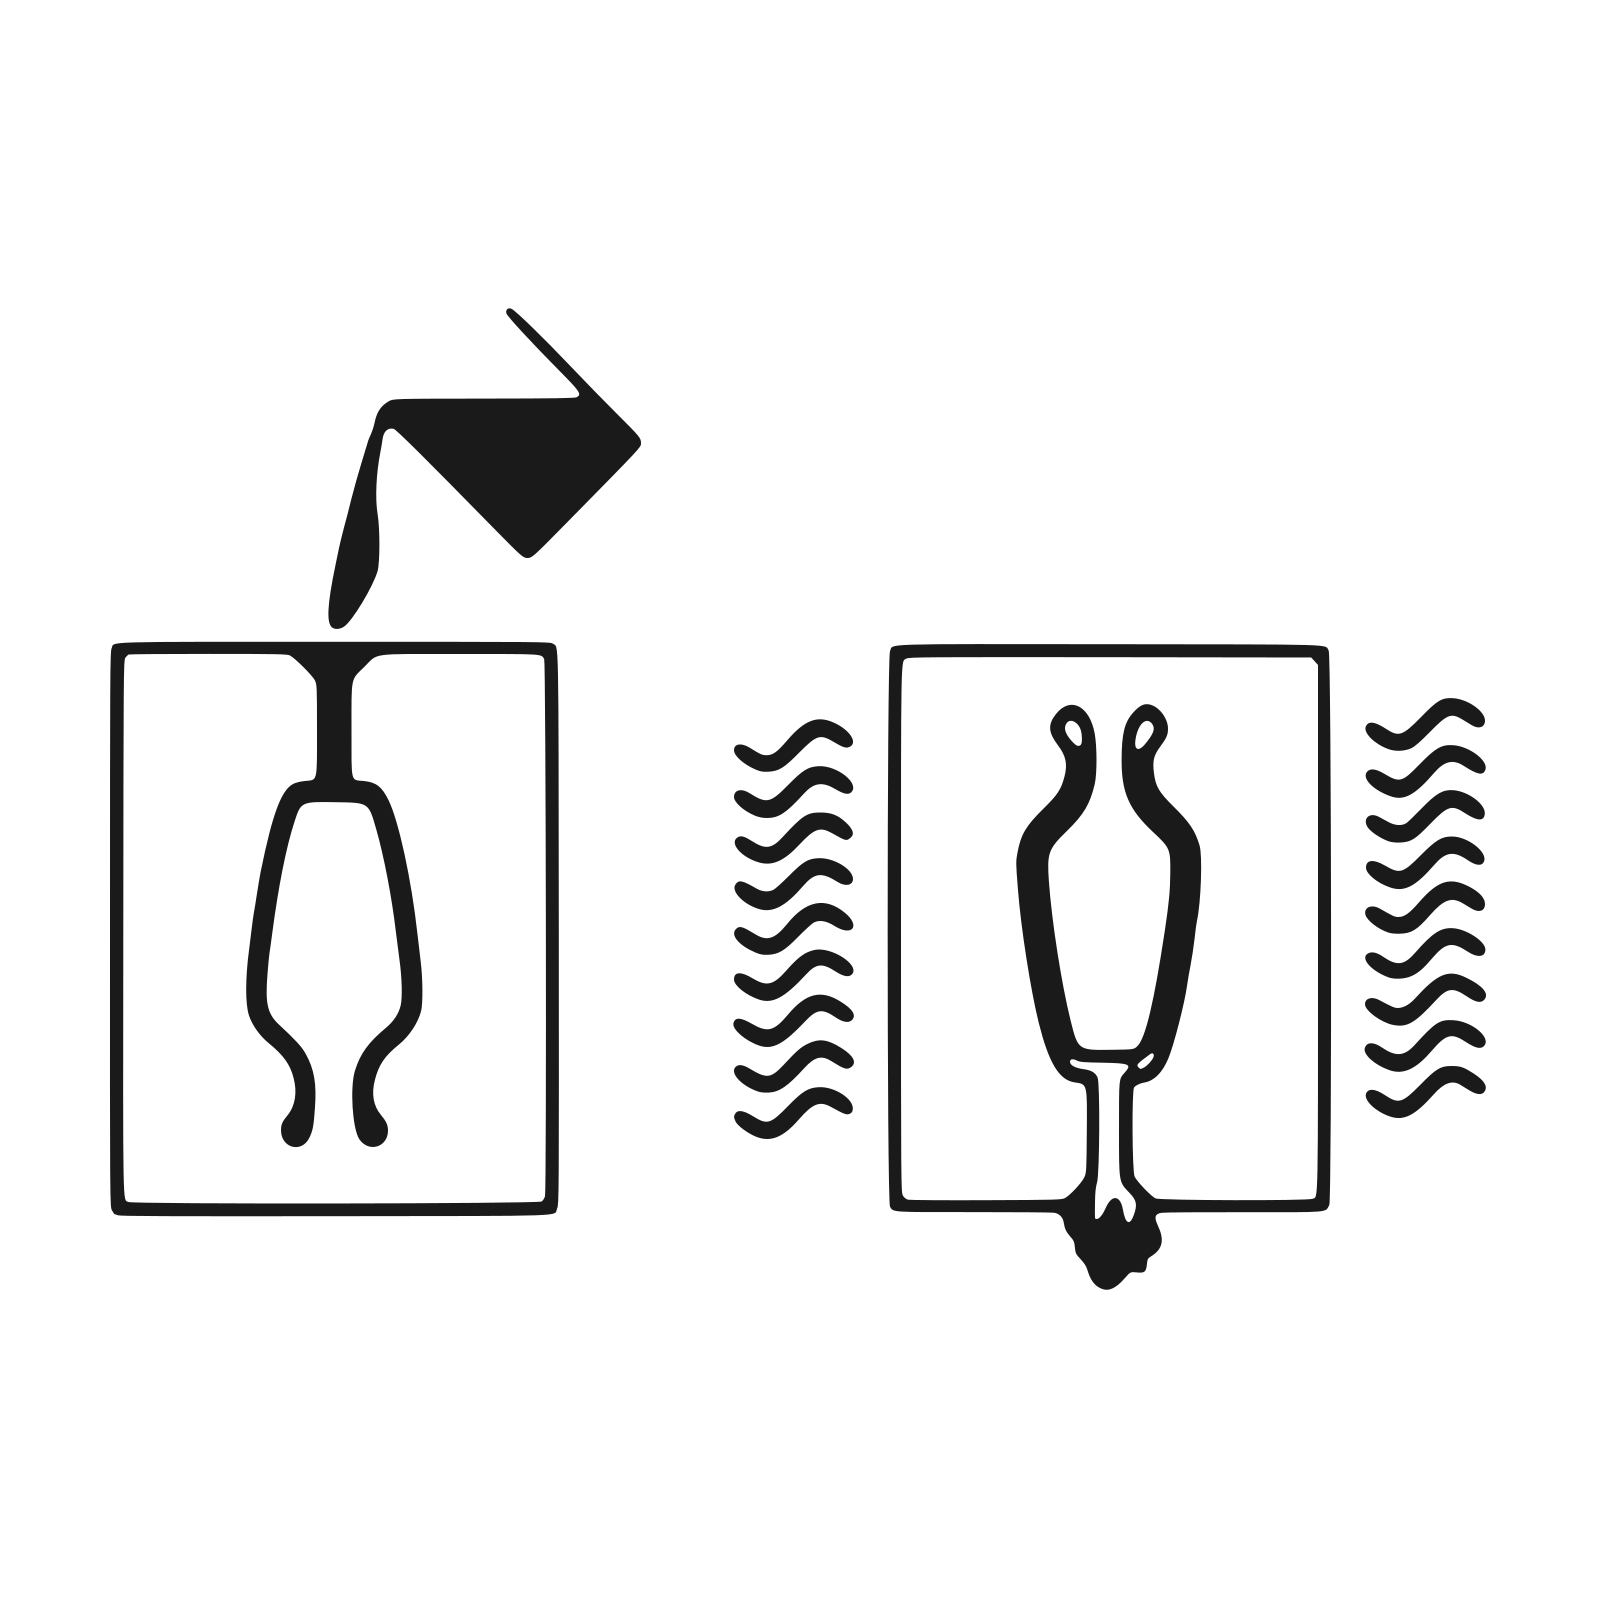
Molten wax is injected into the mould under gentle pressure. Once cooled, each wax copy is removed, trimmed and inspected, so identical pieces can be produced from a single mould.
Step 08
Individual wax pieces are attached to a central wax stem, called a sprue, forming a tree. This allows many pieces to be cast together in a single pour.
Step 09
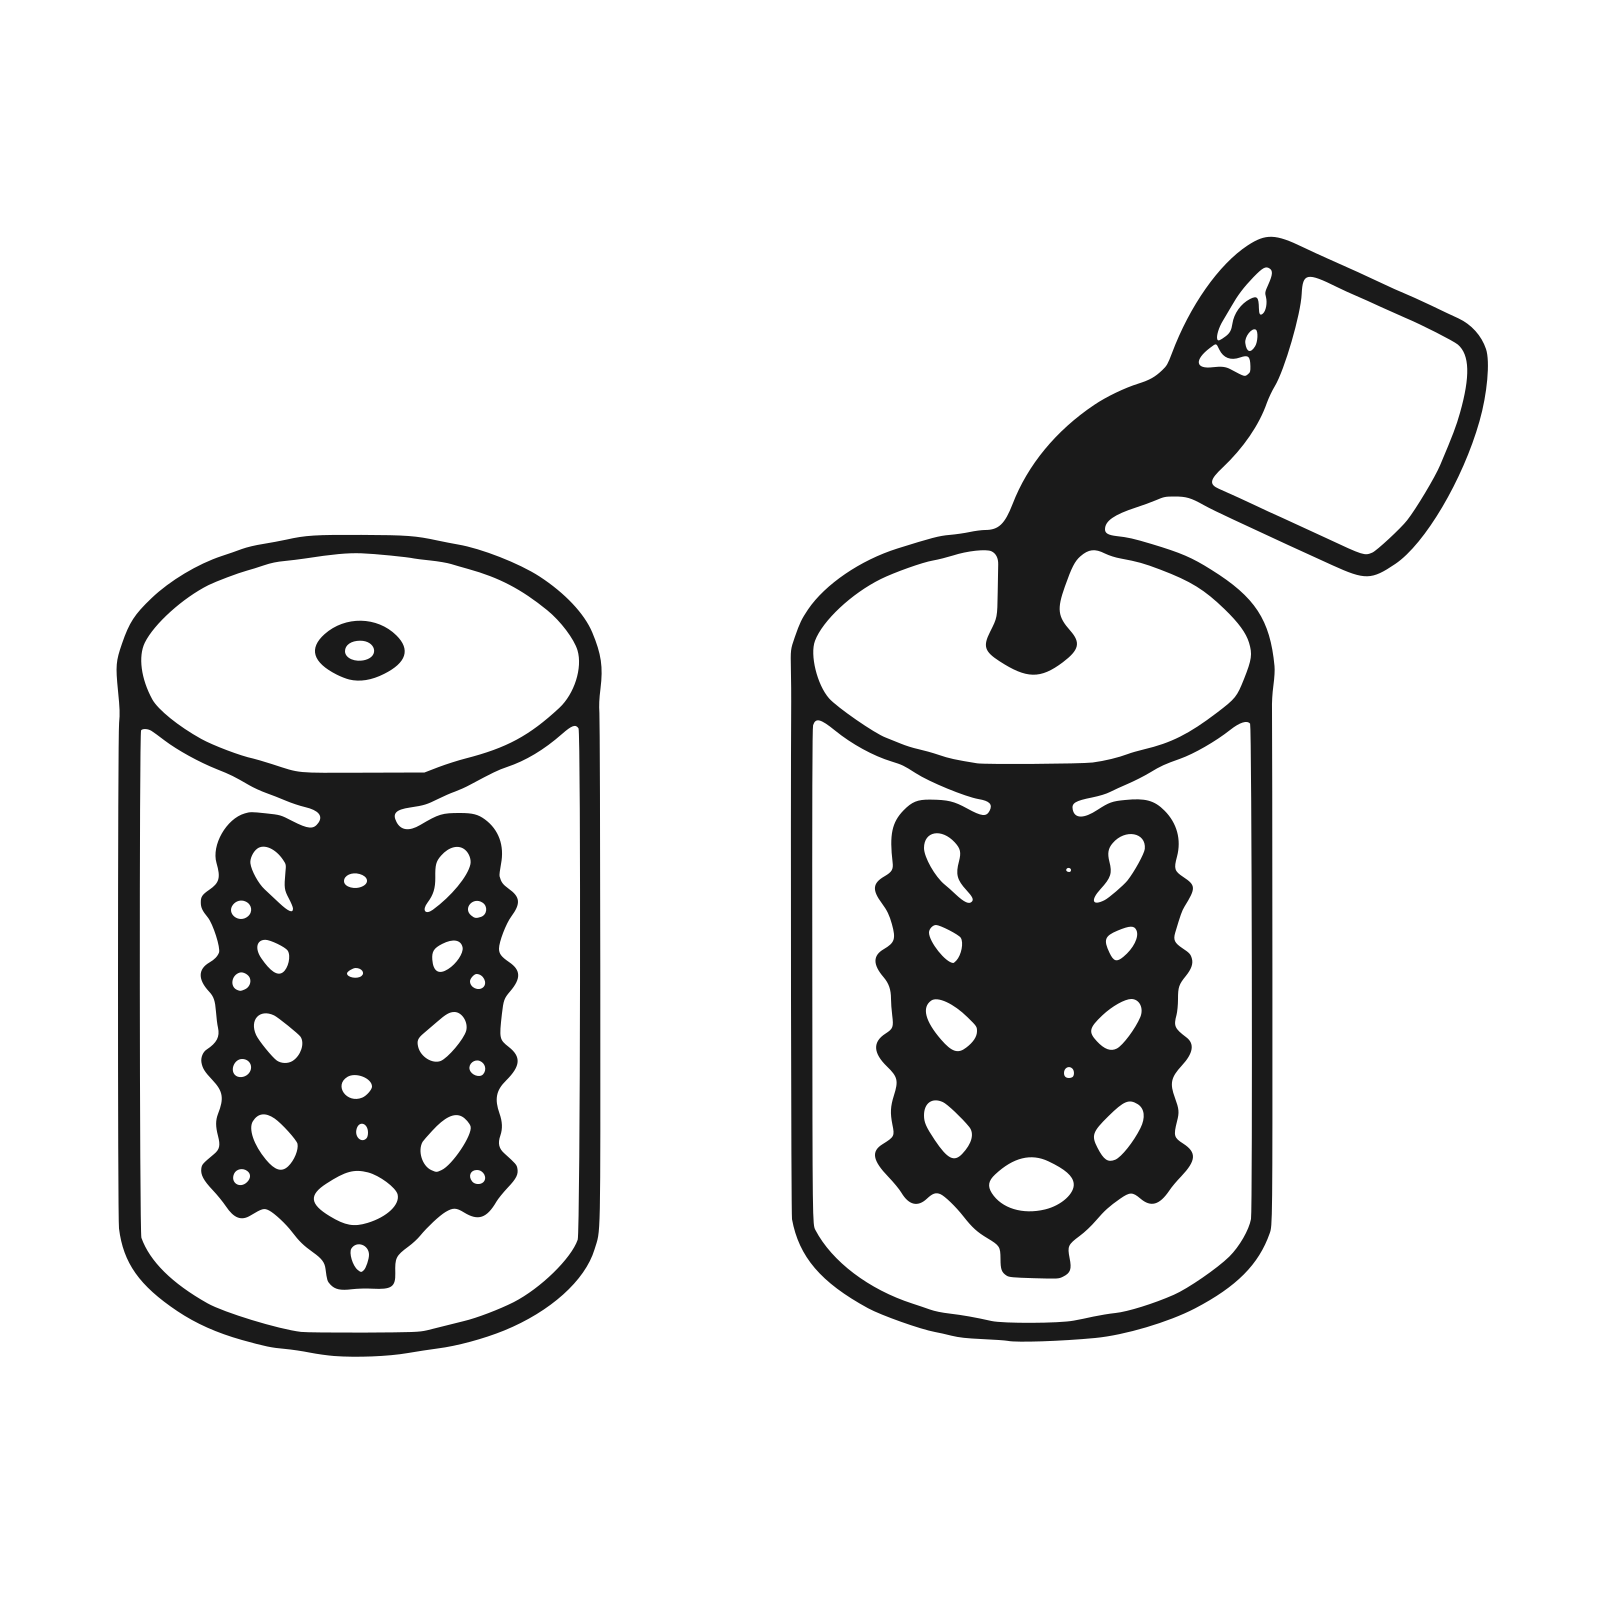
The tree is encased in plaster and heated in a kiln, melting out the wax. Molten metal is poured into the empty space, and once cooled, the plaster is broken away to reveal the rough metal pieces.
Step 10
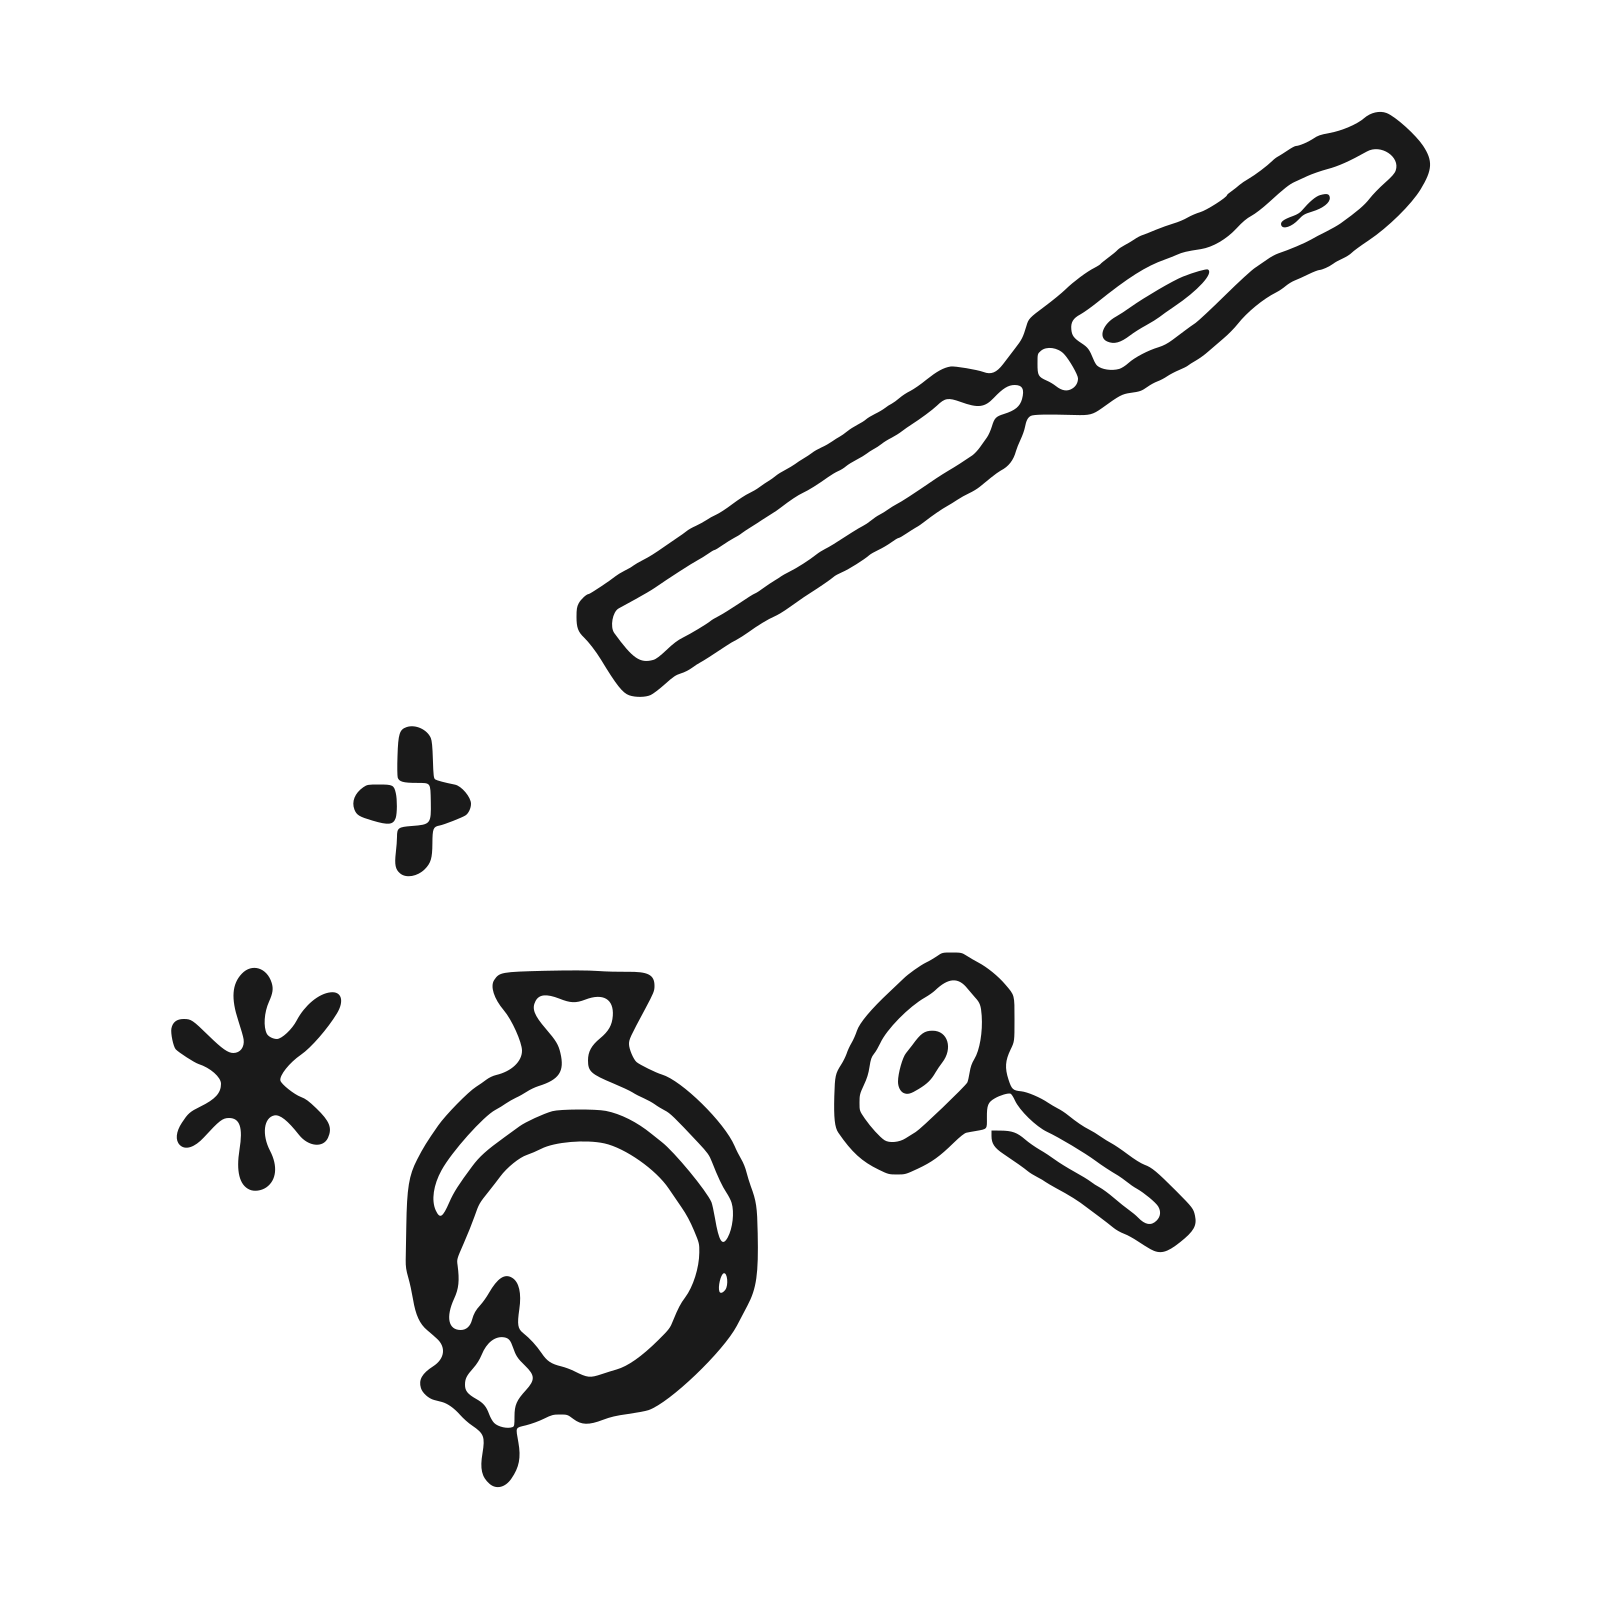
The cast pieces are cut free from the tree. Excess metal and the stubs left by the sprues are ground away, and the surface is smoothed for finer work.
Step 11
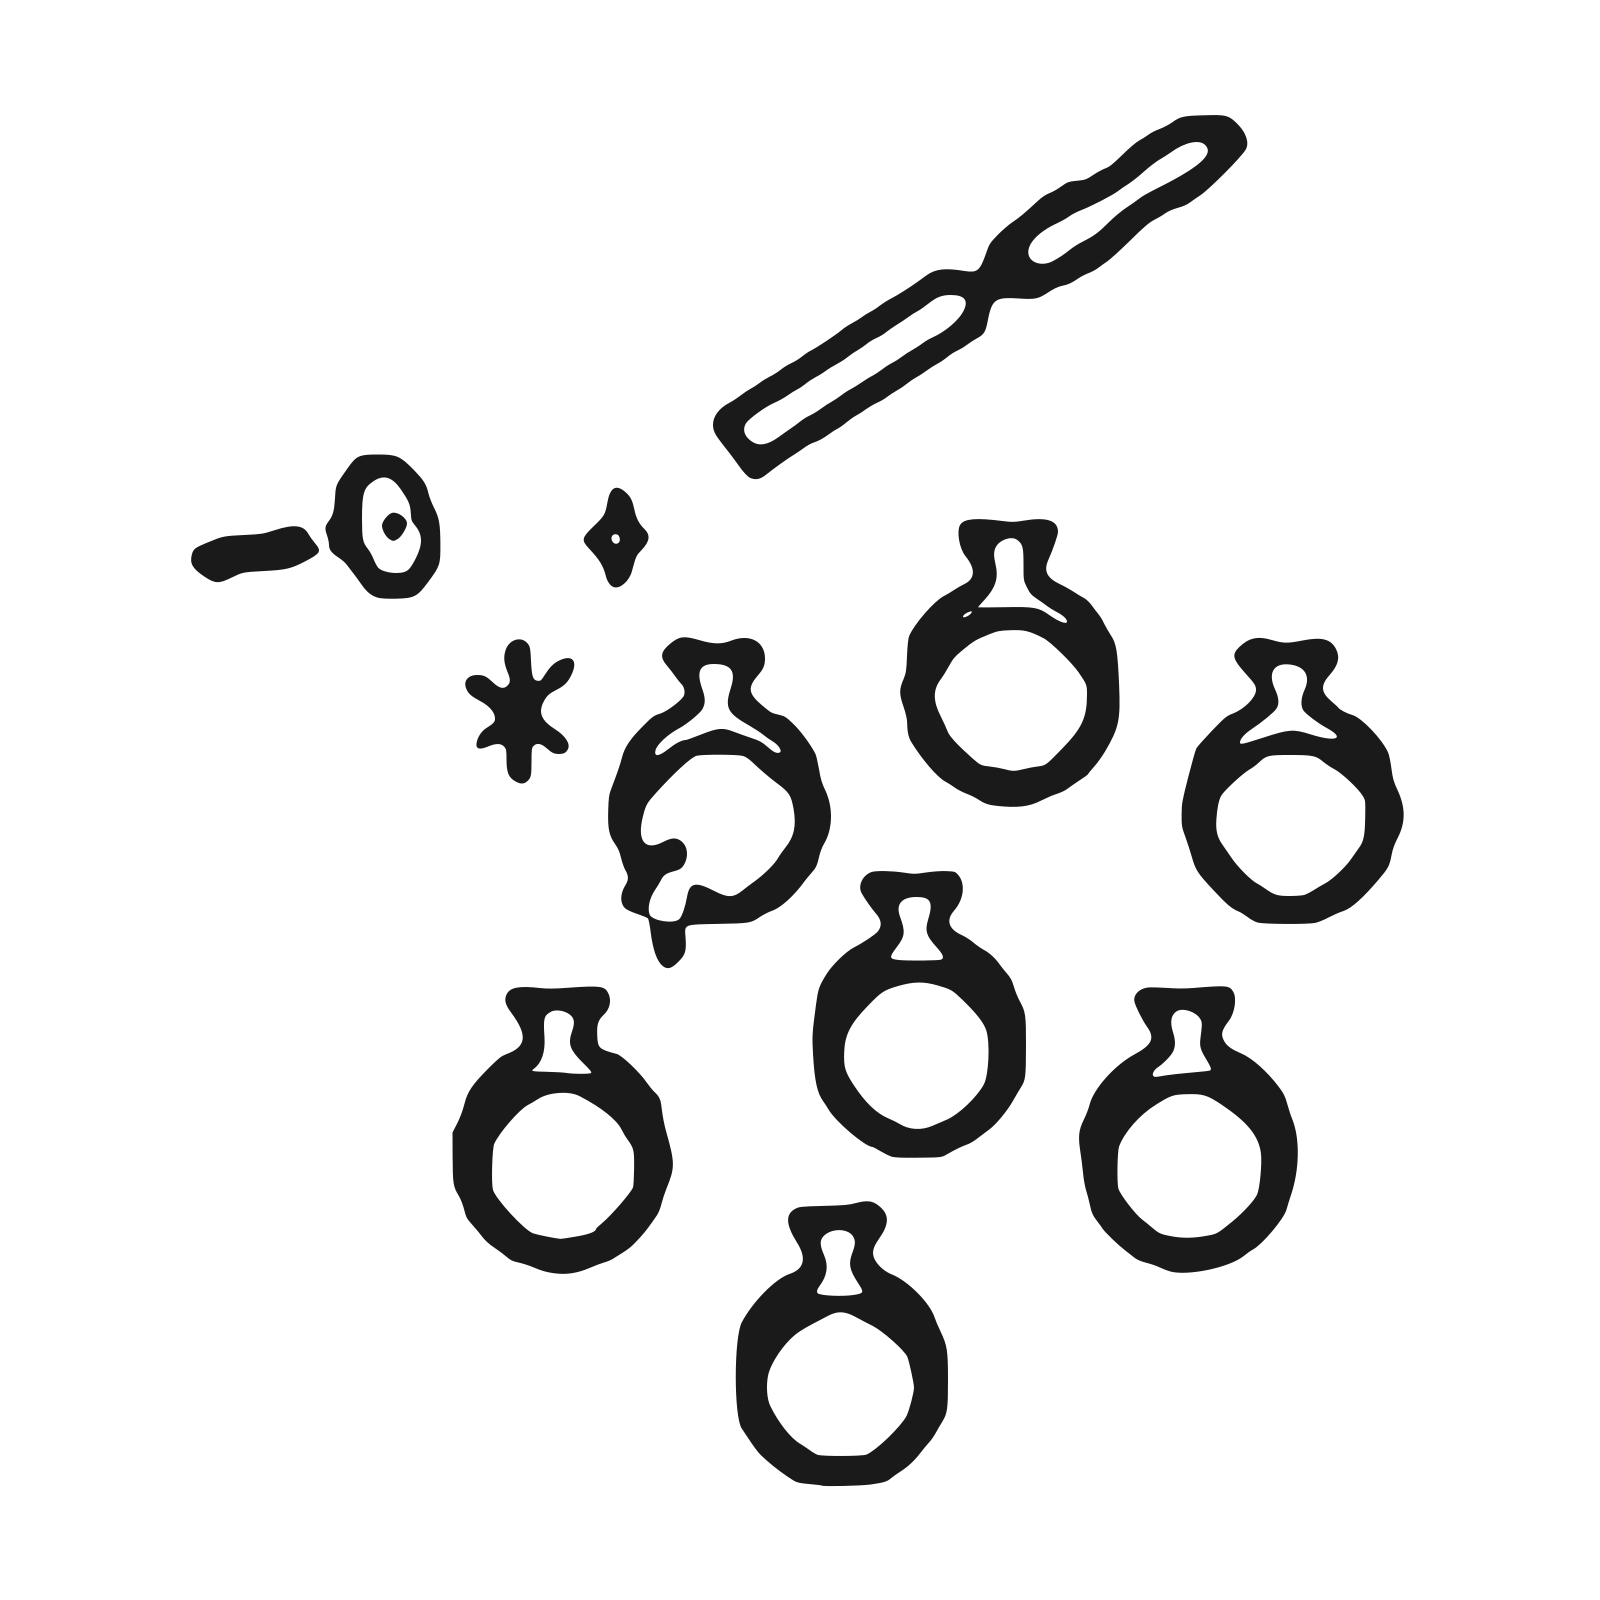
Skilled hands use fine files and tools to refine the form, sharpen edges, correct small imperfections and bring out the intended lines of the design.
Step 12
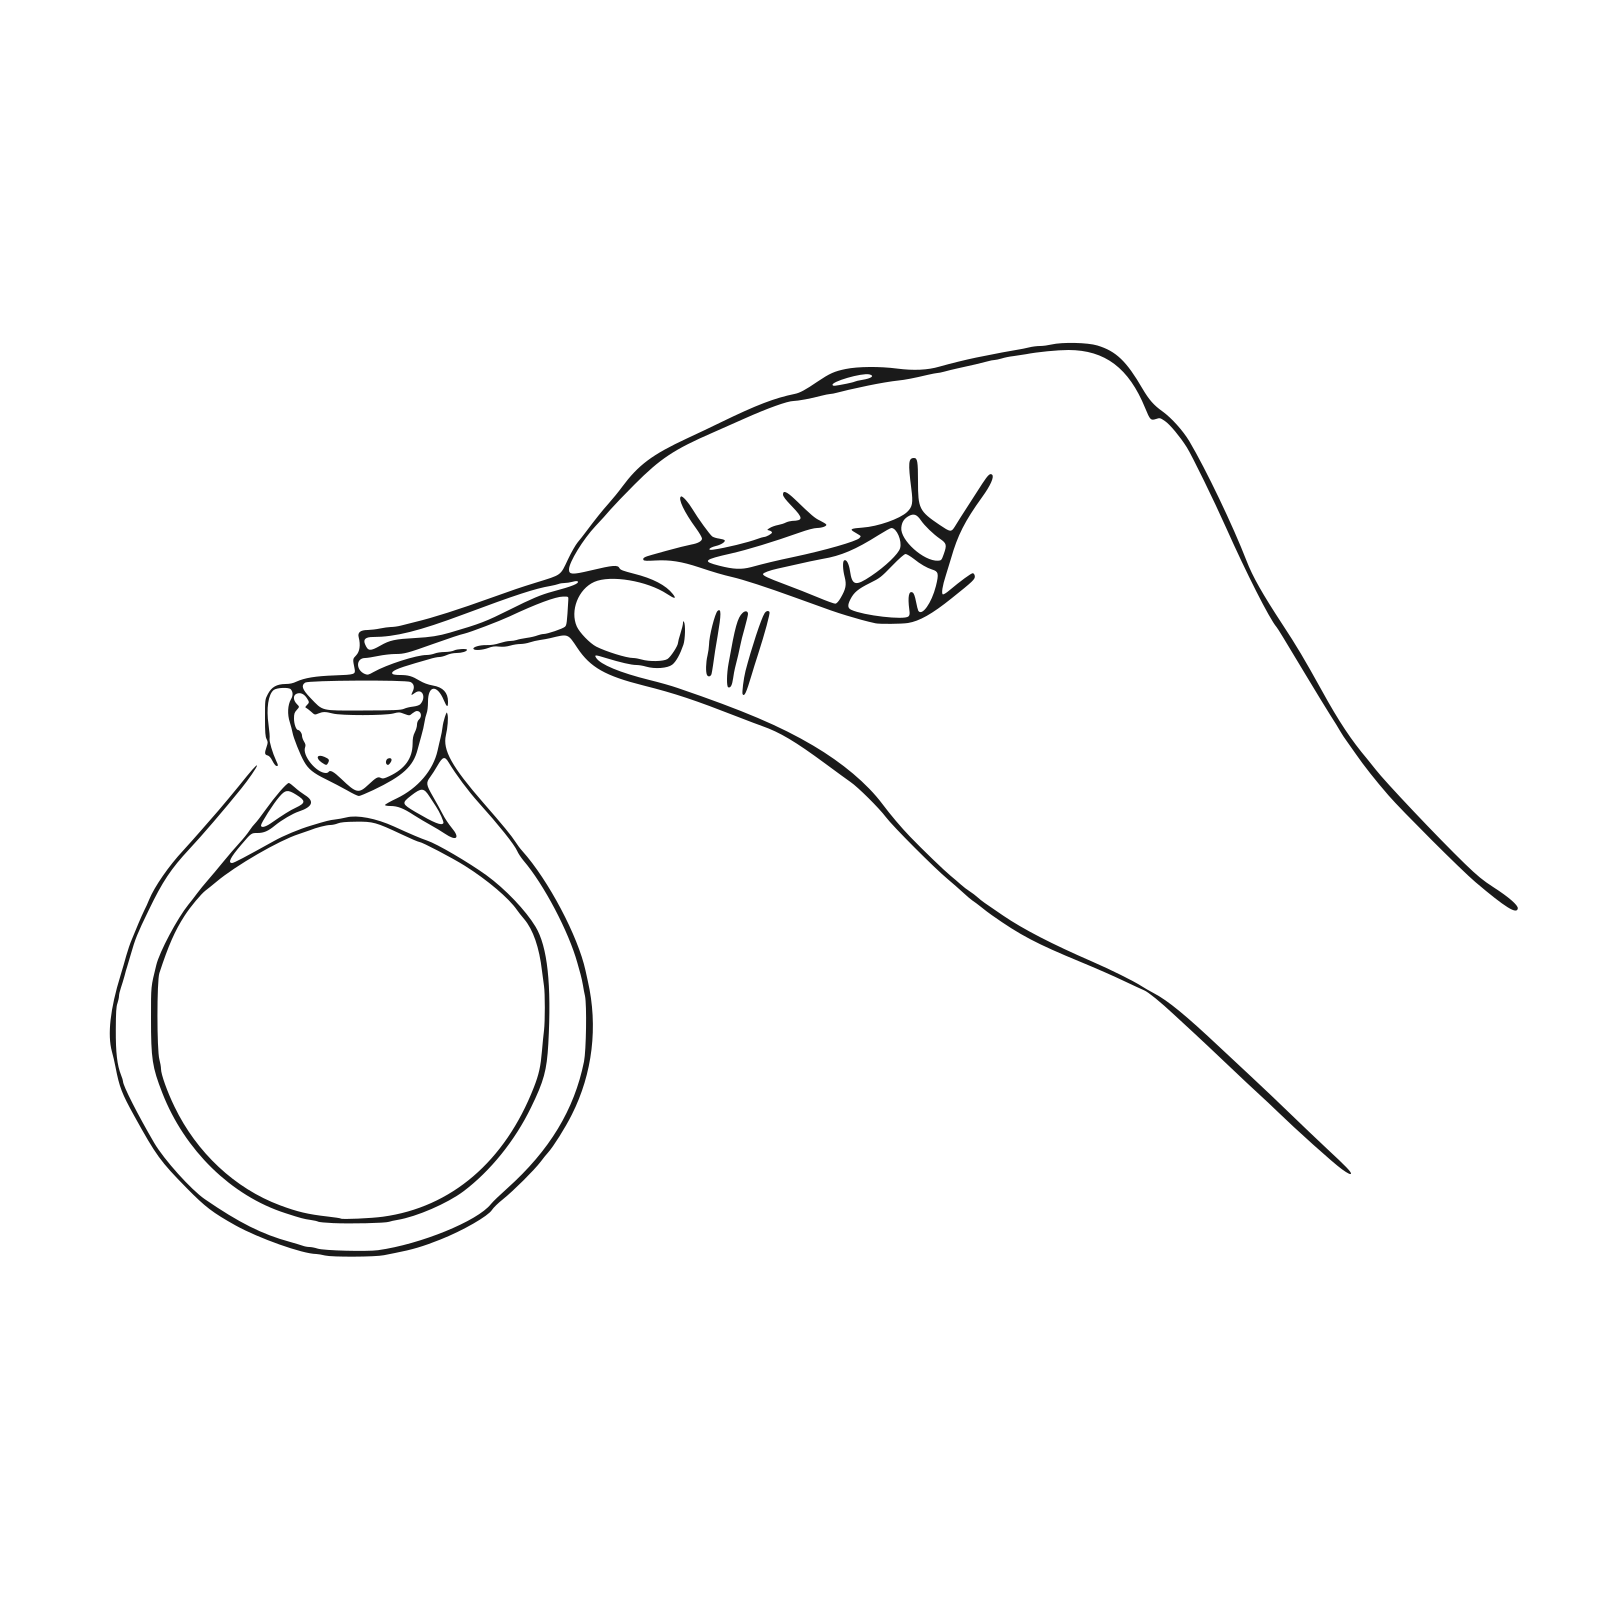
Diamonds and gemstones are set by hand, one at a time. Prongs, bezels or channels are shaped to hold each stone securely while letting in as much light as possible.

Step 13
The jewel is buffed and polished through progressively finer compounds until the metal reaches a smooth, mirror-like shine, then thoroughly cleaned.
Step 14
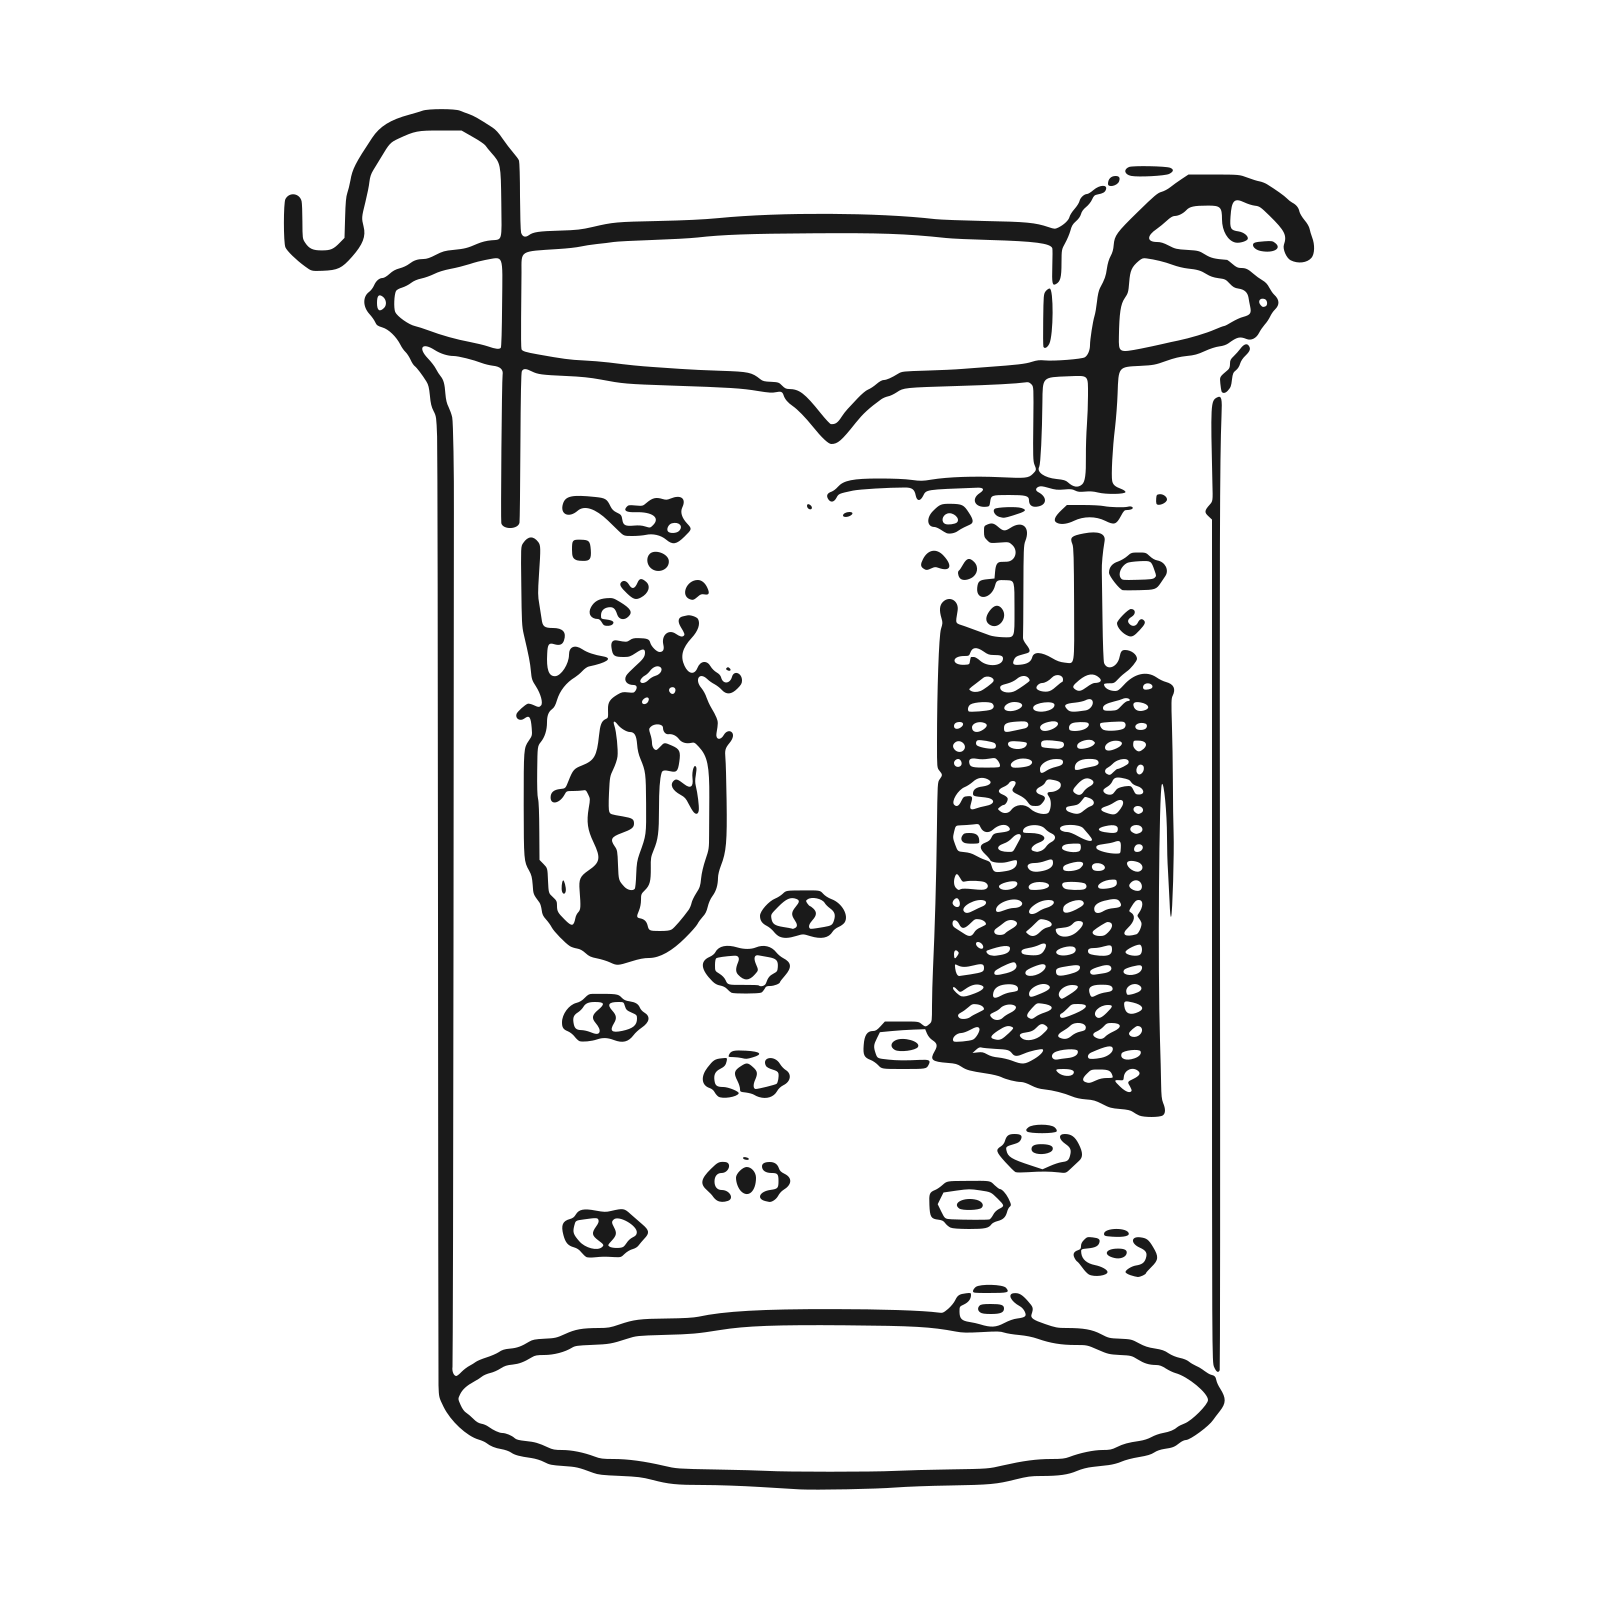
White gold pieces are dipped in a rhodium bath and plated electrically, giving a bright white finish and an added layer of protection against wear.

Step 15
After a final quality inspection of the metalwork, stones and finish, the piece is complete: ready to be worn, gifted and treasured.

Alternative Path
For one-of-a-kind and bespoke pieces, a skilled jeweler can build the model by hand, carving it in wax or fabricating it in metal straight from the sketch. This craft route replaces the 3D CAD and CAM printing steps, and the model then continues on to mould making and casting.